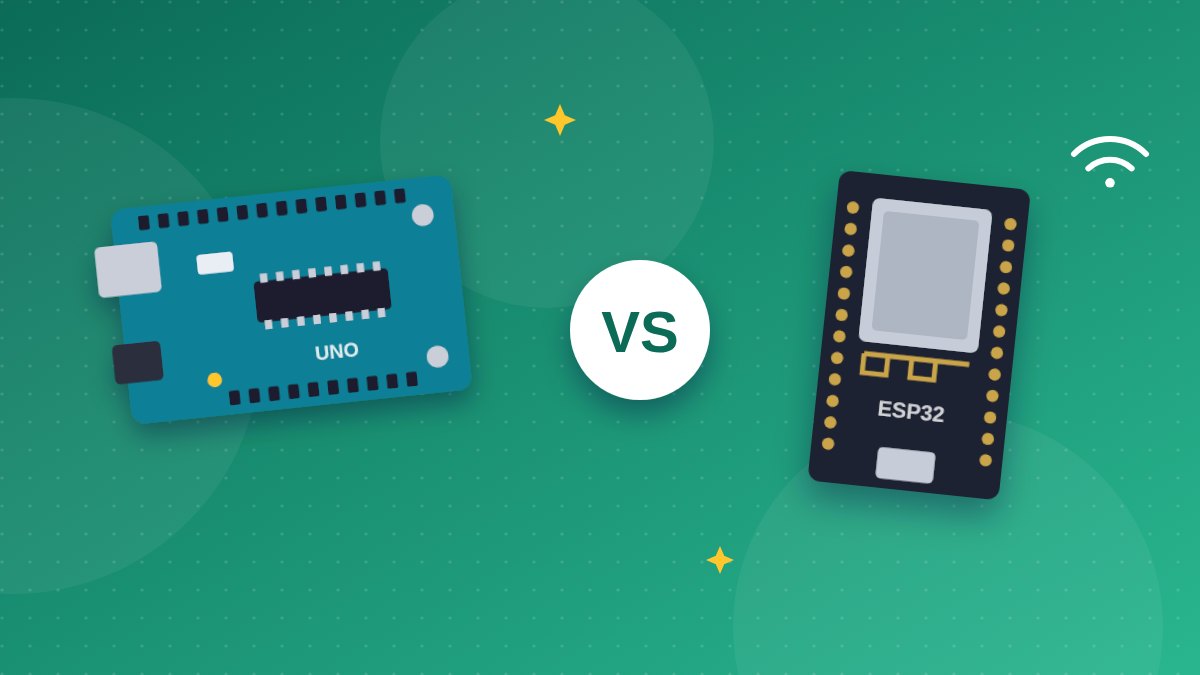
If you are planning a school or college electronics project, one question comes up early: ESP32 vs Arduino Uno, which board should you buy? Both are popular, both work with the Arduino IDE, and both have huge online communities. They suit different jobs, though. This guide compares the two boards with accurate specifications, explains the 3.3 V caution, and suggests ESP32 projects and Arduino Uno projects for each level. If you are weighing Arduino Uno vs ESP32 for beginners, you will find a clear answer below.
A quick overview of both boards
The Arduino Uno uses the ATmega328P, an 8-bit microcontroller from Microchip (formerly Atmel). It is simple, robust and works at 5 V, which matches many classic sensors and shields. It has been the standard teaching board for years.
The ESP32 is a chip from Espressif Systems, sold on many development boards such as the ESP32 DevKit. The original ESP32 has a dual-core processor with Wi-Fi and Bluetooth built in. It is far more powerful than the Uno and is the usual choice for Internet of Things work.
ESP32 vs Arduino Uno: specification comparison
| Feature | Arduino Uno (ATmega328P) | ESP32 (typical dev board) |
|---|---|---|
| Processor | 8-bit AVR, single core | 32-bit dual-core Xtensa LX6 |
| Clock speed | 16 MHz | Up to 240 MHz |
| Flash memory | 32 KB | Typically 4 MB |
| SRAM | 2 KB | 520 KB |
| Logic level | 5 V | 3.3 V |
| Wireless | None built in | Wi-Fi and Bluetooth (Classic and BLE) |
| Analog input (ADC) | 6 channels, 10-bit | Many channels, 12-bit |
| Programming options | Arduino IDE (C/C++) | Arduino IDE, ESP-IDF, MicroPython |
| Cost per feature | Higher | Lower |
| Best for | Learning basics, 5 V sensors and shields | IoT, wireless control, heavier processing |
The ESP32 gives you much more speed, memory and connectivity on one board. That is why it is cheaper per feature. You would need an Uno plus a separate Wi-Fi module to come close, and even then the Uno’s 2 KB of SRAM limits what you can do.
Where the Arduino Uno shines
- Easy first steps. The Uno is forgiving and well documented. Almost every beginner tutorial starts with it.
- 5 V compatibility. Many common modules, such as the HC-SR04 ultrasonic sensor, character LCDs and relay boards, are designed for 5 V logic.
- Shields. Motor shields and sensor shields plug straight onto the Uno headers.
- Clear timing. A single core with no wireless stack makes it easier to understand exactly what the code is doing.
- Embedded C learning. The ATmega328P is a good chip for learning registers, timers and interrupts.
Where the ESP32 shines
- Built-in Wi-Fi. It can host a small web page, send data to a cloud dashboard or publish messages over MQTT.
- Bluetooth. A phone app, such as one built with MIT App Inventor, can control a robot directly.
- More memory and speed. It handles larger programs, display graphics and multiple tasks at once.
- Low-power modes. Deep sleep helps battery-powered sensor nodes last longer.
- Extra features. Touch-sensing pins, more PWM channels and hardware support for several serial interfaces.
The 3.3 V caution
This is the most common mistake students make when moving from the Uno. ESP32 input pins work at 3.3 V and are not designed to accept 5 V signals. Feeding 5 V into a GPIO pin can damage the chip.
- Use a voltage divider (two resistors) or a logic level shifter when a 5 V sensor sends a signal to the ESP32. The echo pin of an HC-SR04 is a classic example.
- Prefer sensors that run at 3.3 V where possible. Many I2C sensors do.
- The 5 V or VIN pin on a dev board supplies power. It does not change the 3.3 V logic level of the GPIO pins.
- GPIO 34 to 39 are input only on the original ESP32, and some pins affect boot mode, so check a pinout diagram before wiring.
- The ADC2 pins cannot be used for analog reading while Wi-Fi is active. Use ADC1 pins for sensors in Wi-Fi projects.
One rule applies to both boards: never drive motors directly from a GPIO pin. Use a motor driver module and a separate supply.
Which board for school projects?
For Classes 6 to 8, the Arduino Uno is usually the better first board. Students learn digital output, analog input and simple logic without worrying about voltage levels. Good starter projects include a traffic light, an automatic street light with an LDR, a line-following robot and a digital thermometer on an LCD.
From Class 9 onwards, the ESP32 opens up IoT. Students can build a Wi-Fi weather station that posts readings to a cloud dashboard, or a Bluetooth-controlled car driven from a phone.
Which board for college projects?
For BCA, MCA, BSc Computer Science, Electronics and Physics students, the answer depends on the goal. Use the Uno to learn Embedded C, breadboarding and PCB basics. Use the ESP32 for anything connected, such as MQTT home automation with Node-RED, a Firebase data logger, Modbus RS-485 communication with a gateway, or a web-controlled robotic arm. Many final-year projects use both: the Uno for low-level control and the ESP32 as a wireless bridge.
Arduino Uno vs ESP32 for beginners: the verdict
Start with the Uno if you are completely new to electronics. Move to the ESP32 once you can read a circuit diagram and write basic Arduino code. Most of your code ports across with small changes, because the Arduino IDE supports the ESP32 through Espressif’s board package.
Key takeaways
- The Uno runs an 8-bit ATmega328P at 16 MHz with 32 KB flash and 2 KB SRAM.
- The ESP32 runs a dual-core Xtensa LX6 at up to 240 MHz with 520 KB SRAM and built-in wireless.
- The ESP32 is cheaper per feature, but its pins use 3.3 V logic.
- Use a voltage divider or level shifter for 5 V signals into an ESP32.
- Beginners learn well on the Uno, then move to the ESP32 for IoT.
Build real projects with IRI’s college add-on courses
Industrial Robotics Institute (IRI) runs hands-on add-on courses for BCA, MCA, BSc and MSc Computer Science, Electronics and Physics students. “Hands-On Electronics & Embedded Systems” covers breadboarding, Arduino Uno, Embedded C, KiCad PCB design and soldering. “Hands-On IoT & Industrial IoT” and “Hands-On Robotics & Automation” are built around the ESP32. Courses run as 30-hour or 60-hour versions, are 85% hands-on, and IRI brings all the kits. Call 8606082634 or email inrobos@gmail.com.
30-hour or 60-hour hands-on Robotics, IoT and Embedded courses. IRI brings all kits.
Call 8606082634 · inrobos@gmail.com
Frequently asked questions
Can I program the ESP32 with the Arduino IDE?
Yes. Install the ESP32 board package from Espressif in the Arduino IDE Boards Manager. Most Arduino code works with small changes, such as pin numbers.
Can I connect a 5 V sensor to the ESP32?
You can power some 5 V sensors from the board's 5 V pin, but their output signals must be brought down to 3.3 V with a voltage divider or level shifter before they reach an ESP32 pin.
Which board should a complete beginner buy first?
The Arduino Uno is the easier first board for learning electronics basics. Move to the ESP32 when you want Wi-Fi, Bluetooth or IoT projects.