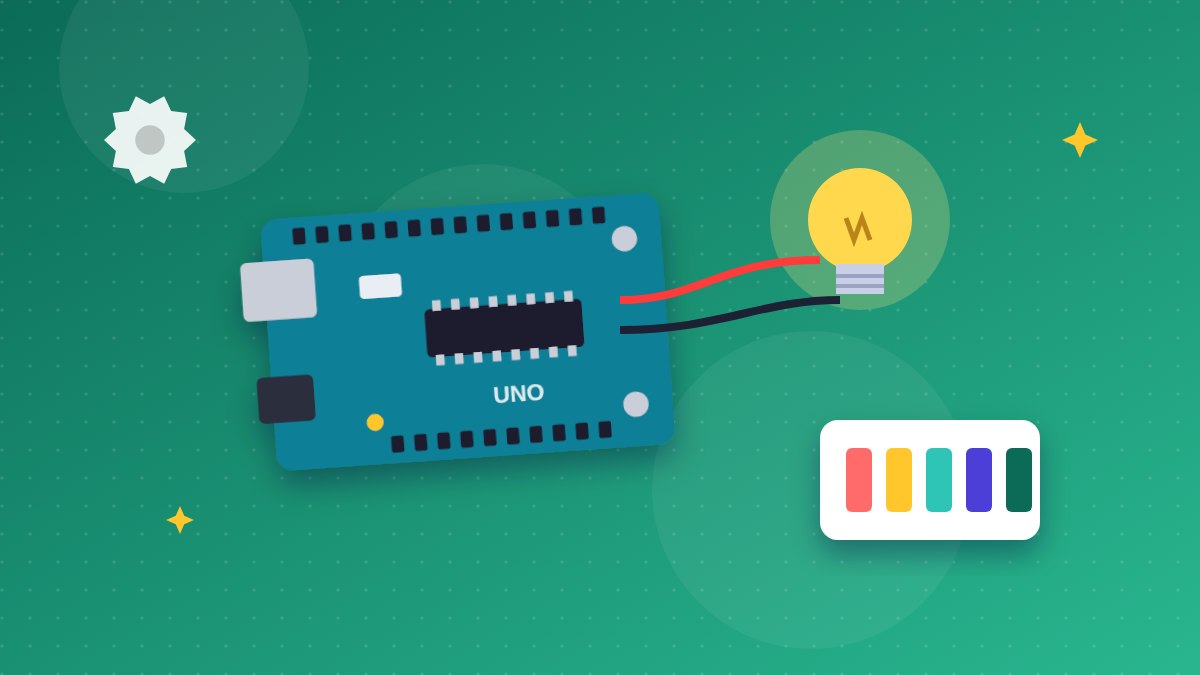
Arduino is the best first step into electronics and coding. It is cheap, safe, and gives instant results: write a few lines of code and an LED lights up or a motor turns. These five Arduino projects for beginners are planned as one project a day for a school week. Each one teaches a new idea, and by Friday students understand inputs, outputs and sensors. They suit Arduino for students from about Class 6 upward.
What you need before you start
Every project below uses a common base kit:
- Arduino Uno board and USB cable
- Breadboard and jumper wires (male-to-male and male-to-female)
- LEDs in a few colours and 220 ohm resistors
- A computer with the free Arduino IDE installed
Students can also practise in Tinkercad Circuits, which simulates an Arduino in the browser. This is handy when there are fewer boards than students.
Day 1: Blink and traffic light
Parts: Arduino Uno, breadboard, one red, one yellow and one green LED, three 220 ohm resistors, jumper wires.
Start with the classic Blink sketch, which turns the built-in LED on pin 13 on and off every second. Then connect three LEDs to pins 8, 9 and 10, each through a resistor to ground, and write a traffic light sequence: green for five seconds, yellow for two, red for five.
What students learn: pinMode, digitalWrite, delay, and why LEDs need a resistor to limit current.
Day 2: Ultrasonic distance meter
Parts: Arduino Uno, HC-SR04 ultrasonic sensor, breadboard, jumper wires, optional buzzer.
The HC-SR04 sends a short burst of sound and measures how long the echo takes to come back. Sound travels about 0.034 cm per microsecond, and the pulse goes there and back, so distance equals time multiplied by 0.034, divided by 2.
Wire VCC to 5V, GND to GND, Trig to pin 9 and Echo to pin 10. Upload this code and open the Serial Monitor at 9600 baud:
const int trigPin = 9;
const int echoPin = 10;

void setup() {
  pinMode(trigPin, OUTPUT);
  pinMode(echoPin, INPUT);
  Serial.begin(9600);
}

void loop() {
  digitalWrite(trigPin, LOW);
  delayMicroseconds(2);
  digitalWrite(trigPin, HIGH);
  delayMicroseconds(10);
  digitalWrite(trigPin, LOW);

  long duration = pulseIn(echoPin, HIGH);
  float distance = duration * 0.034 / 2;

  Serial.print("Distance: ");
  Serial.print(distance);
  Serial.println(" cm");
  delay(500);
}
Move your hand in front of the sensor and watch the numbers change. As an extension, add a buzzer that beeps when an object comes closer than 10 cm, just like a car parking sensor.
What students learn: sensor timing, pulseIn, the Serial Monitor, and using maths inside code.
Day 3: Automatic night lamp
Parts: Arduino Uno, LDR (light dependent resistor), 10k ohm resistor, LED with 220 ohm resistor, breadboard, jumper wires.
Connect the LDR and the 10k resistor as a voltage divider, with the middle point going to analog pin A0. Read the value with analogRead, which gives a number from 0 to 1023. Print the values first in bright and dark conditions, then pick a threshold. When the reading shows darkness, switch the LED on.
What students learn: analog inputs, voltage dividers, if conditions and calibration. This is the same idea used in automatic street lights.
Day 4: Temperature and humidity monitor
Parts: Arduino Uno, DHT11 sensor module, breadboard, jumper wires, optional 16×2 I2C LCD display.
Install the DHT sensor library from the Library Manager in the Arduino IDE. Connect the module’s data pin to pin 2, then read and print temperature and humidity every two seconds. Students can add an LCD to show readings without a computer, or light a red LED when the temperature goes above a set value.
A humid climate makes this project interesting. Students can compare readings in the classroom, near a window and outdoors.
What students learn: installing and using libraries, digital sensors and displaying data.
Day 5: Servo motor control
Parts: Arduino Uno, SG90 micro servo, 10k ohm potentiometer, breadboard, jumper wires.
Connect the potentiometer’s middle pin to A0 and the servo signal wire to pin 9. Read the potentiometer, convert the 0 to 1023 range into 0 to 180 degrees using the map function, and send that angle to the servo with the Servo library. Turning the knob now turns the servo arm.
This is the basic building block of a robotic arm. Add a second servo and students have a simple two-joint arm.
What students learn: PWM-controlled motors, the map function and how input controls output.
Tips for teachers running an Arduino course
- Work in pairs or groups of three, with one student wiring, one coding and one checking.
- Always disconnect the USB cable before changing wires.
- Teach students to read error messages in the IDE. Most errors are a missing semicolon or bracket.
- End each day with a two-minute demo from every group.
- Keep a parts checklist so components return to the kit.
Key takeaways
- Five short projects cover outputs, digital and analog sensors, libraries and motors.
- A base kit of an Arduino Uno, breadboard, LEDs and resistors supports every project.
- Tinkercad Circuits lets students practise even without a physical board.
- The ultrasonic and servo projects lead directly to robots and robotic arms.
Bring hands-on Arduino classes to your school
Projects like these are part of IRI’s Robotics & AI pathway for Class 1 to 12. In the Middle stage (Class 6 to 8), students work with Arduino and sensors, then move on to MIT App Inventor, ESP32 and IoT in higher classes. Classes run weekly on campus with real kits, follow IRI’s own grade-wise textbook series, and align with NEP 2020. IRI has trained 60,000+ learners.
Book a free 1 to 2 hour demo class for your school. Call 8606082634 or email inrobos@gmail.com.
Weekly hands-on classes for Class 1–12 on IRI's own textbook series. Start with a free demo class on your campus.
Call 8606082634 · inrobos@gmail.com
Frequently asked questions
What age is right for learning Arduino?
Most students are ready for Arduino from around Class 6. Younger students can start with block coding in Scratch and move to Arduino once they understand basic logic.
Do students need to know coding before starting Arduino?
No. Beginner projects like Blink teach the basics of Arduino code step by step. Prior experience with Scratch helps but is not required.
Can students learn Arduino without buying a board?
Yes. Tinkercad Circuits simulates an Arduino Uno and common parts in the browser, so students can build and test circuits online before using real hardware.